Prev |
Next
To get started, let's open the Maya scene, subsurface_scatter.ma.
(Where are the tutorial files?)
|
1 —
BEFORE SUBSURFACE SCATTERING |
RenderMan For Maya lets you create
subsurface scattering effects by attaching special RenderMan attributes to
Maya Materials. When these attributes are attached to a Material a subsurface
scattering pre-pass will be generated automatically, much like creating a
shadow map in a pre-pass.
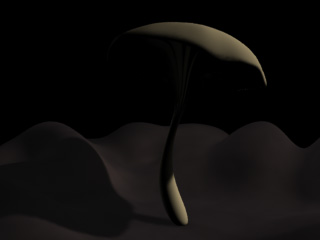
Before we get started let's render the Maya scene,
subsurface_scatter.ma,
without subsurface scattering.
Render-> Render Current Frame
You'll get an image like the
one below:

The basic scene
|
2 —
ADDING SUBSURFACE SCATTERING |
To add subsurface
scattering, select the Maya Material called Mushroom1 in the
Hypershade. Next, we'll add the subsurface scattering attributes to this
Material. To
attach the attributes follow these steps:
1) Select the Material in the Hypershade (in this case named "mushroom1").
2) Open the Material in the Attribute Editor.
3) From the Attribute Editor Menu:
Attributes-> RenderMan-> Add Subsurface Scattering
Now that you've added
the subsurface scattering attributes, you will find them at the bottom of the
Material under
the Extra RenderMan Attributes tab. There are a number of subsurface
scattering parameters that you can use to control the effect. Right now we'll render
with the defaults, so simply render again:
Render-> Render Current Frame
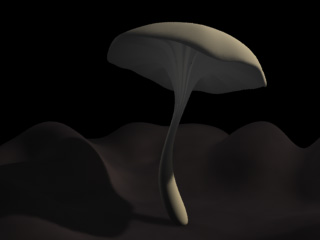
You'll see the
pre-pass generated first. After that is processed (in about 30 seconds), you should get an
image like the one below:

Default
subsurface scattering
You can see the effect
is there, but it needs to be tweaked for this particular model. We'll do
that next.
|
3 —
TWEAKING SUBSURFACE SCATTERING |
In the Extra RenderMan Attributes section of the Attribute Editor
you'll find the parameters for controlling the subsurface
scattering effect. The most important setting is the Scattering Free Path
parameter, which determines how far light penetrates into an object. In this case
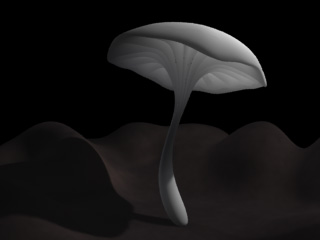
we'll set the Scattering Free Path to 2 (as measured in world space). Render again:
Render-> Render Current Frame
You should get an
image like this:

Scattering Free
Path set to "2"
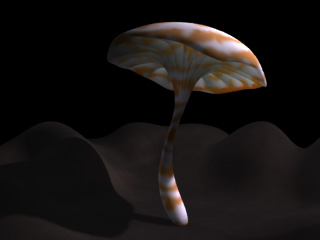
By messing around with
the other parameters (for instance, connecting a Marble to the Albedo),
you can create some interesting effects, like this:

With Marble added
to the Albedo
|
4 —
REUSING SUBSURFACE SCATTERING |
Because subsurface
scattering is a potentially expensive effect, RenderMan for Maya allows you
to reuse these calculations. If the light doesn't change and the object isn't
moving, reusing these calculations can save a lot of time. To reuse subsurface
scattering do the following:
1) Open the Render Globals.
2) Select the RenderMan Passes tab.
3) You'll see a list under Pass Settings, select rmanSSMakeBrickmapPass.
4) Switch the Caching Behavior from Compute to Reuse.
The Passes tab gives
you a high degree of control over the individual passes that are part of a
render job. By
selecting a different pass in the Pass Settings window, parameters will
automatically appear for that pass. In this case, you've switched the mode of
the Subsurface Scattering pass from Compute to Reuse. Now that
you've set the Caching Behavior to Reuse, try rendering again and you won't
have to wait for the pre-pass.

Remember you'll want
to switch the Caching Mode from Reuse to Compute if the
lights change, the object moves, or if you're tweaking most of the subsurface
scattering parameters.
You are able to create
subsurface scattering effects with RenderMan for Maya by attaching special
RenderMan attributes to Maya Materials. This effect is generated in a pre-pass
which is referenced in during the rendering of the final image, just like
shadow maps.

If you are rendering
subsurface scattering on multiple objects, like a clump of mushrooms (where
each object is clearly distinct from, yet close to, the others) you'll want to
apply a separate material to each object. If a single material is used the
subsurface scattering effect with be blurred across the objects.
Prev |
Next
|
Pixar Animation Studios
Copyright©
Pixar. All rights reserved.
Pixar® and RenderMan® are registered trademarks of Pixar.
All other trademarks are the properties of their respective holders. |
