Prev |
Next
Introduction to “it” Scripting
|
For this tutorial, you don't need a Maya scene file. All you need is a
directory with a couple of images to play with.
Scripting “it” is done via the “it” Console. You can access the Console with
“it” started via the Hub by right-clicking and selecting Windows >
Console… or via the display window by right-clicking and selecting
Console…
You can also start “it” via the command line, assuming “it” is in your
path, and can open the Console directly using the -console flag:
% it -console
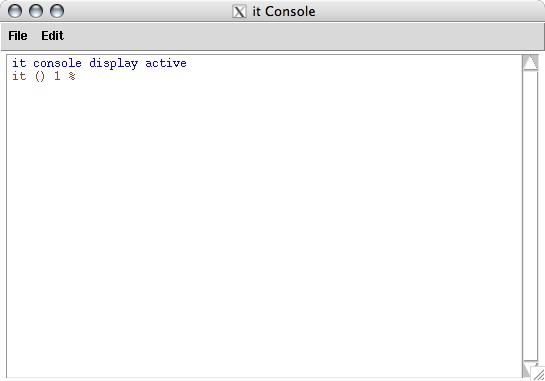
The “it” Console
- In the Console window, use the cd command to navigate to a
directory full of images.
- Open the image by typing the following command in the Console window:
::ice::load image.tif
- If you look at the “it” catalog, the image will appear with a
_load handle. You can specify a handle using the -h
flag after the file name, e.g.
::ice::load image.tif -h _it1
- You can open more than one image at a time using the command this way:
::ice::load image.*.tif

The console has a convinient feature to make typing these commands easier
called "tab completion". It works on both command and file/directory names.
- Type ice:: and the press the tab key. You get a
list of all the functions that start with ::ice. You'll see
a few commands in there that we've included with “it”. It's easy to
add your own.
- Type ice::loadhe and press tab and then return.
You get the idea.
- Say you had a file called image.345.tif type ice::load
image and press tab. The console will complete the file
name.
Something else to make life easier in the Console are the arrow keys. When
the blinking | cursor is on the last line (where you'd normally
expect to type) the “up” and “down” keys let you cycle
through all the commands you've typed. Previous commands can be edited this
way.
Try another one of the included commands. This one shows you how you
could use IceMan's text rendering to label your images.
- Load an image that's at least 720x480
- Type
::ice::slate -topleft %f -bottomright "I like teapots"
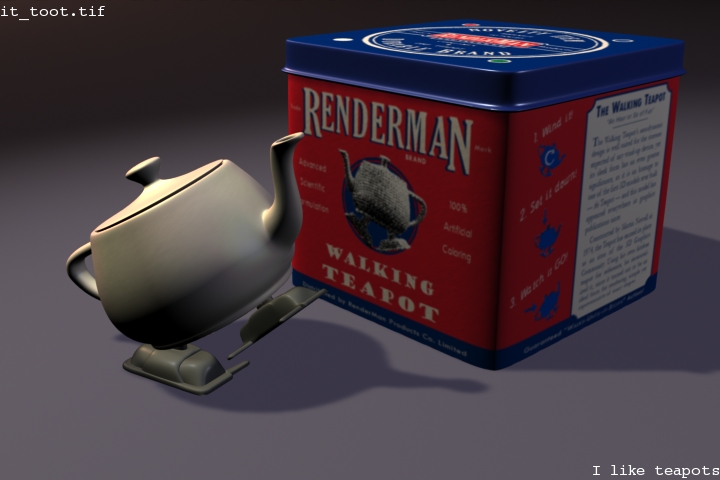
An “it” “slate”
ice::slate has other arguments, which you can find out
about by typing ice::slatehelp.
If you are interested in modifying or making up your own functions
you'll find the source to all the ice:: script in the
/lib/it directory in the file named
TclIceExtensions.tcl. If you write your own, you can put them
in another file with a .tcl extension in that directory.
Now that you're comfortable getting to and running scripts in the Console
you can start to explore all the functions that IceMan has. Let's say you
have two images and you want to find the differences between them. Arithmetic
on images in IceMan is easy!
- Load two images, labeling the first one _it1 and the second
_it2.
- To compute the difference, from the console type:
it IceExpr "diff := _it2 - _it1"
- The resulting image is displayed and shows up in your catalog as
<script result>, labeled diff.
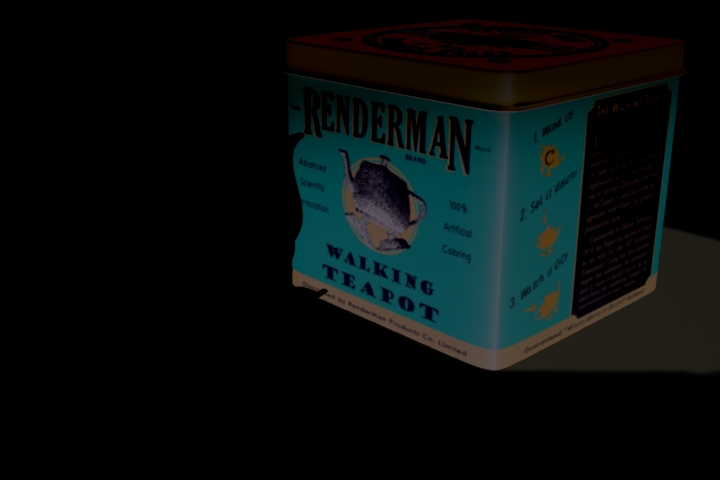
A “diff” result
- Let's say that the differences were really small, and you can't quite
see them, so you want to multiply them by some factor. This is where using
the "up" arrow becomes useful. Press that precious little button and then
edit the previous command to read:
it IceExpr "diff := (_it2 - _it1) * IceColor(10)"
When you hit return it will update the "diff" image (you just lost the
first one, unless you saved it).
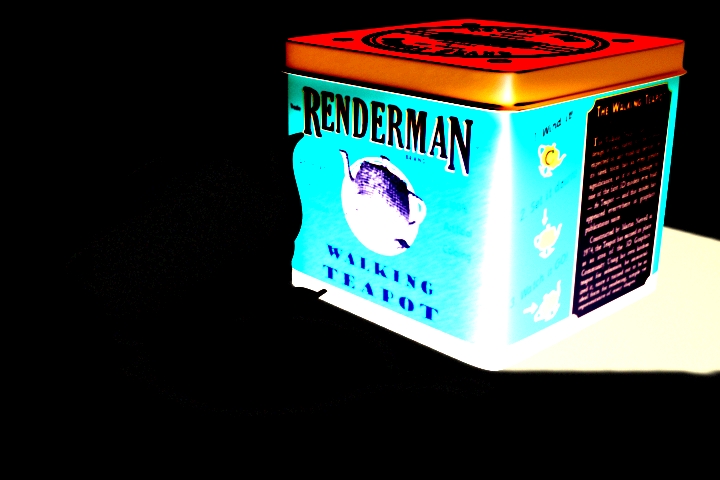
A “diff” operation, multiplied
You might be wondering what IceColor(10) did above. The short answer
is it made a special kind of image called a Card which is conceptually
infinite in size and has the same value at every pixel. Whenever you need an
image that has the same value everywhere use a Card.
Having gone through that operation the long way, it's worth mentioning that
there is a shortcut. Looking at differences is so helpful, we included
::ice::diff to save you the all that typing. In the example above,
our initial operation could be performed with this simple command:
::ice::diff _it2 _it1
“it” and IceMan provide users with a seriously robust scripting language for
manipulating images, without getting overly complex. Take a look at the
“it” documentation for a look at the bigger
picture, so to speak. Be sure to check out the
IceMan Reference Guide for
a complete rundown of what you can do via scripting. And don't be shy
about trying out the other “it” scripting tutorials, which
take you through building
a Web page via script and combining tcl and IceMan scripts.
Prev |
Next
|
Pixar Animation Studios
Copyright©
Pixar. All rights reserved.
Pixar® and RenderMan® are registered trademarks of Pixar.
All other trademarks are the properties of their respective holders. |