Prev |
Next
To get started, let's open the Maya scene, particles.ma.
(Where are the tutorial files?)
Open the scene, particles.ma,
in Maya. For this tutorial we have a teapot spouting particles into the air.
In this tutorial we'll cover the basics of using particles with RenderMan for
Maya. This tutorial assumes you are familiar with creating particles and Maya
Materials using Maya.
The first thing you'll notice is
that RenderMan for Maya renders particles in software rendering. By rendering
in software the particles will be correctly anti-aliased, motion blurred,
self-shadowing, and fully integrated into the final rendered image.
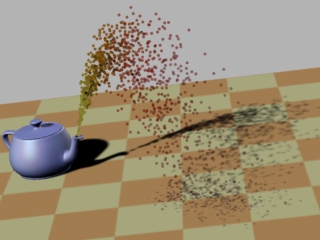
Render the Maya scene with
RenderMan.
Render-> Render Current Frame
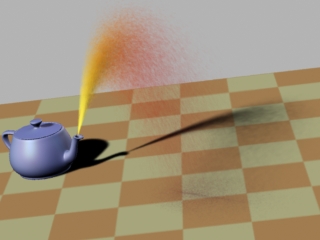
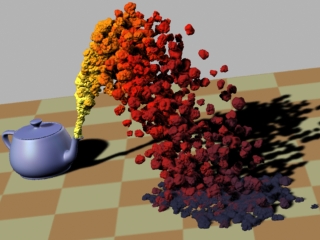
You should get an image like the
one below. Notice how Pixar's Deep Shadows add
rich, semi-transparent shadows to the particles:

Particle points
rendered in sofware
RenderMan
for Maya supports nearly all of the Maya particles. Here are the supported
particle types:
MultiPoint
Supported
MultiStreak — Supported
Points — Supported
Spheres — Supported
Sprites — Supported
Streak — Supported
Blobby Surface — Supported
Cloud — Rendered as blobby surfaces
Tube — Partial support
Particle Cloud Shader — Minimal support
Next we'll take a look
at what can be done with several of the particle types in RenderMan for
Maya.
|
2 —
POINTS: TWEAKING THE PARTICLES |
Because we're rendering particles
in software mode, we can tweak the Lambert material attached to these
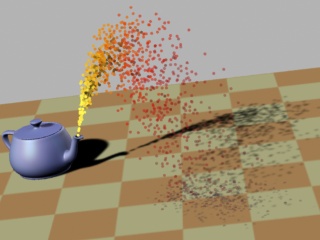
particles. We can make the particles brighter by selecting the Lambert and
changing its color from grey to white. Note you can adjust any of the Lambert
parameters: Diffuse, Transparency, etc. For now just change the color from
grey to white, and render the Maya
scene:
You should get an image with
brighter particles.

Brighter
particles by changing Lambert's color to white
|
3 —
POINTS: ENABLE MOTION BLUR |
Motion blur would be a nice effect
to add to these particles. We can add motion blur by opening the
Render Globals and selecting the Features tab. Enable motion blur by
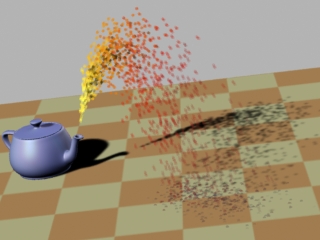
clicking the appropriate check box (next to Motion Blur). Now Render the Maya
scene:
Render-> Render Current Frame
You should get an image like the
one below. One of the nice things about Deep Shadows is that the shadows are
motion blurred, too.

Motion blur
enabled
|
4 —
POINTS: PARTICLE ATTRIBUTES |
You'll also notice
that RenderMan for Maya honors Maya's per-particle attributes, like color and
opacity. This particle system already has per-particle attributes for color
and opacity set for you.
Next add the particle
attributes for this specific partical system, points. Do this by selecting the
"Current Render Type" button next to the Add Attributes field
of the Render Attributes sub-tab. Now we adjust additional attributes
for the points particle type. You'll notice that RenderMan renders points in
world space, not pixel space, which has the advantage of giving the points an
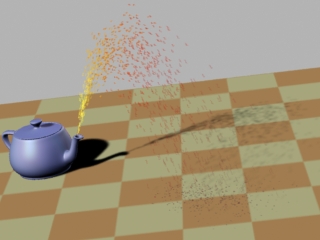
actual size in the Maya scene. We can make the points smaller by setting the Point Size parameter to "1."
Now render the Maya scene, you
should have smaller points:

Smaller
points
Because RenderMan can
handle huge amounts of points, a common technique is to set the points to be
nearly transparent and render a much larger amount. So next: change the rate of particles
per second from 300 to 30000, set the particles to nearly transparent in the
Lambert material, and do the particle run-up again. Now render.

120,275 particle
points
|
5 —
SPHERES: POINTS TO SPHERES |
Next we'll work with
the Maya sphere particles. Close the scene and then reopen, particles.ma, to
restore the default settings for the scene.
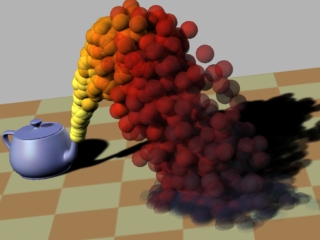
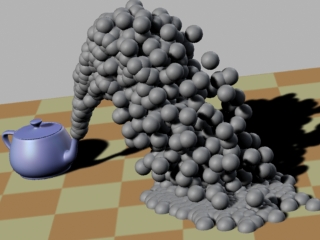
Now select the particles and change them from points to spheres. Now render the Maya
scene; you should get spheres.

Self-shadowing
semi-transparent spheres
(Rendering time:
114 seconds)
You'll notice that the
image took a long time to render. The reason the image takes long to
render is the same reason the shadows (particularly the self-shadowing) look good ... the Deep Shadows are
storing a lot of transparency data and that gets more expensive the more
transparent objects there are. In this case, because there are so many transparent objects,
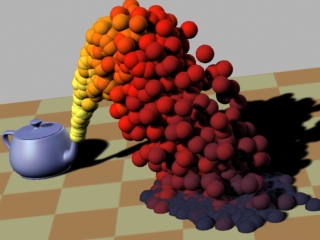
the scene is quite expensive. To speed it up we can get rid of the transparency, so
select the particles and delete the per-particle opacity attribute. Now render
again ... notice that it renders much faster:

Sphere particles
without transparency
(Rendering time:
43 seconds)
It's good to remember
that Deep Shadows can create special effects like shadow transparency, but Deep Shadows can also
be expensive to render.
|
6 —
SPHERES: ADDING DISPLACEMENTS |
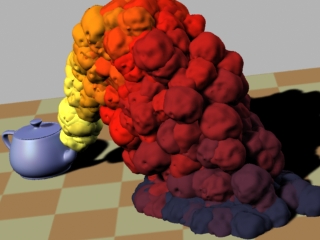
With RenderMan, we can break up the
regularity of the spheres by adding displacements to them. To do this, select
the Lambert shader attached to the spheres and connect a Solid Fractal as a
displacement (from the Lambert's Shading Group node). Now render:

Spheres with a
displacement shader
We can now tweak the
parameters of the displacement to create a wide variety of effects. For now
we'll just set the Alpha Gain of the displacement's Solid Fractal
to "-0.5" to push the displacement back in toward the particles.
Now render:

Displacement with
an Alpha Gain of "-0.5"
|
7 —
SPHERES: ADD ALTERNATE MATERIALS |
Additionally, other Maya Materials
can be attached to particle systems. Lambert reads per-particle attributes and
should be used in those cases where per-particle attributes are required, but, alternatively, other
Materials can be attached to particle systems to create certain kinds of
effects (while ignoring per-particle attributes, like color and opacity). To
demonstrate this, select the particle system and attach a Maya Ramp Shader.
Now render:

Spheres with a
Ramp Shader
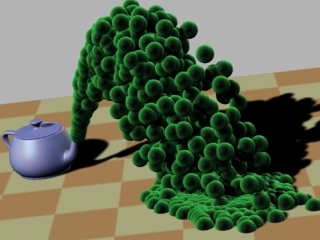
The spheres are using
the Ramp Shader, which means we can create interesting effects, like changing
the Ramp Shader's Color Input to Facing Angle and ramping the
color from black to green. Go ahead and do just that (the black color should
face the camera
and the green should face toward the sides). Now Render:

Spheres with
Facing Angle
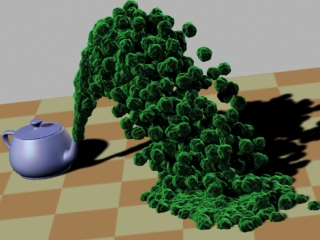
Now we can add another
displacement shader. Connect a Solid Fractal to the Ramp Shader, as we did
above. Set the Alpha Gain of the displacement's Solid Fractal to
"-0.2" to push the displacement back in towards the particles. Now
render:

Displacement with
an Alpha Gain of "-0.2"
RenderMan for Maya is capable of rendering nearly every Maya particle type and
provides advanced features for making particles look as good as possible. Some
of the advantages of rendering particles in RenderMan are:
1) Particles are rendered in software ... providing correct anti-aliasing, motion
blur, and complete integration.
2) Rich complex shadows (supporting semi-transparency, motion blur, and
self-shadowing) are easy to create using Pixar's Deep Shadows.
3) RenderMan particle points are highly efficient.
4) Displacement shaders can be added to sphere particles.
Prev |
Next
|
Pixar Animation Studios
Copyright©
Pixar. All rights reserved.
Pixar® and RenderMan® are registered trademarks of Pixar.
All other trademarks are the properties of their respective holders. |
